Experience MineYes advantages
Easily mine mainstream cryptocurrencies
Freely choose cryptocurrencies from plans to mine
300,3 Ph/s
Total hashrate up to

Daily profit accumulation
No withdrawal fee

Zero maintenance fee, covered by platform
Mining starts immediately after payment
Mine major cryptocurrencies
You can mine the cryptocurrencies provided in our plan.
300,3 Ph/s
Total hashrate up to
Zero maintenance fee, covered by platform
Daily profit accumulation
No withdrawal fee
Mining starts immediately after payment
Reasons to choose us
We focus on tangible, measurable, perceptible practical results, not just theory or abstract concepts

Enjoy competitive rates and transparent fees, no hidden costs
High profit potential, make investment returns more predictable!
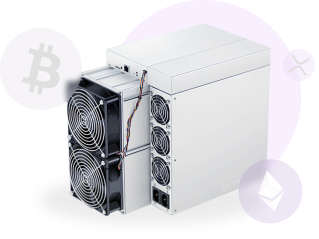
Start with just a click!
No extra hardware needed, easily accessible!
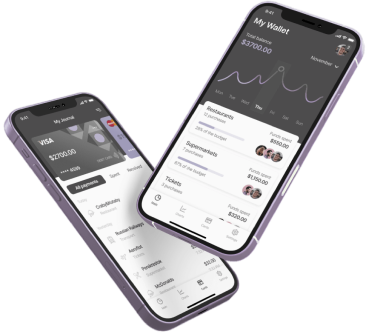
Real-time Performance Monitoring
Use detailed analysis and reporting tools to track your mining performance and revenue in real time!
Unparalleled Security
Cutting-edge data center and robust security measures protect your investment!
24/7 Professional Support
Enjoy comprehensive support and 24/7 customer service for worry-free mining!
Flexible and Affordable Plan
Various contract options, including pay-as-you-go, meet diverse needs, flexible control!
FAQ
MINEYES is a stable digital asset mining service providing a simple, secure way to purchase computing power without handling hardware or software. We serve individuals and businesses with computing power services and diverse mining solutions.
Very simple! Just
· Complete KYC/AML verification
· Pay contract fee, contract automatically added to your account
· Start mining based on selected blockchain algorithm, rewards distributed within 24 hours after daily mining ends.
If you have any questions, visit our website "Contact Customer Service" page to leave a message. Our professional support team is ready to assist you anytime.
Our cloud computing power and managed services are distributed across multiple premium mining farms in the US, Russia, and Ethiopia. Each farm undergoes strict rating evaluation including compliance, power stability, quality assurance, scale, and guarantee funds, ensuring safe, stable computing power.
We only select top-tier mining pools. Selection criteria include reliability, low fees, and low rejection rate, ensuring your computing power remains stable and efficient.
Verification requires government-issued ID (ID card, passport, or driver license) and a photo of yourself. KYC/AML aims to prevent fraud and money laundering while complying with international regulations. If your country is not within the eligible service area, you cannot use this platform. Your personal data is not stored; we work with top-tier service providers ensuring all information remains confidential and secure.
Partner